How Do You Set Up A Gaming Console? 1
Setting up a gaming console might seem daunting at first, but you’ll quickly find it’s a straightforward process that allows you to dive right into your favorite games. You’ll start by unboxing your new console and connecting it to your TV using the included HDMI cable. After plugging in the power supply and turning on the console, you’ll follow the on-screen instructions to configure settings like language, Wi-Fi, and user accounts. Finally, you can update the system software if necessary, install any games you want to play, and customize your preferences to your liking. Before you know it, you’ll be ready to enjoy an immersive gaming experience! How do you set up a gaming console? Whether you’re a seasoned gamer looking to upgrade or a newbie diving into the world of gaming for the first time, setting up a console can seem daunting at first. But don’t worry — we’re here to make this process as smooth and fun as possible for you. This guide will walk you through each step, ensuring that you get your console up and running in no time.
Unpacking Your Gaming Console
First things first: let’s start with the basics. When you bring home your new gaming console, the excitement can make you want to tear open the box immediately. But there’s a right way to unpack it to ensure that all components are safe and undamaged.
Check the Box Contents
Before you start connecting anything, make sure you have all the necessary parts. Different gaming consoles may come with various components, but most include the following:
| Item | Description |
|---|---|
| Console Unit | The main device |
| Power Cable | To plug your console into a power outlet |
| HDMI Cable | To connect the console to your TV or monitor |
| Controller(s) | Typically one or two, depending on your purchase |
| Instruction Manual | Quick setup guide and other literature |
| Game(s) (if bundled) | Some consoles come with one or more games included |
| Additional Accessories | Depending on the model, these can include stands or camera |
Make sure you have everything listed above, and nothing is damaged. If anything is missing or broken, contact the retailer or manufacturer for a replacement.
Removing Protective Materials
Once you’ve verified all components, carefully remove any protective packaging materials. This includes plastic wraps, foam inserts, and cardboard separators. Be gentle to avoid damaging any parts.
Setting Up the Console
Now that everything’s unpacked, it’s time to set up your console. This involves both physical setup and initial software settings.
Choosing the Right Location
Your gaming console needs a good home. Here are some factors to consider when choosing its location:
- Ventilation: Ensure that the console has enough space around it to allow for adequate air circulation. Avoid placing it in enclosed spaces.
- Proximity to TV and Power Outlet: Your console should be close to both the television (or monitor) and a power source. This minimizes cable clutter and makes the setup process more convenient.
- Stable Surface: Ensure the surface is sturdy to prevent accidental falls or vibrations.
Connecting the HDMI Cable
The HDMI cable is your console’s link to video and sound output. Here’s how to connect it properly:
- Locate the HDMI Port on the Console: Insert one end of the HDMI cable into the HDMI OUT port on your console.
- Connect to Your TV or Monitor: Insert the other end of the HDMI cable into an available HDMI IN port on your TV or monitor. Note which port you’ve used, as you’ll need to select this input on your TV later.
Plugging in the Power Cable
Next, plug the power cable into your console.
- Insert Power Cable: Find the power port on your console and insert one end of the power cable.
- Connect to the Power Outlet: Plug the other end into a wall socket or power strip. Ensure that the power strip or outlet is turned on.
Connecting Additional Devices (Optional)
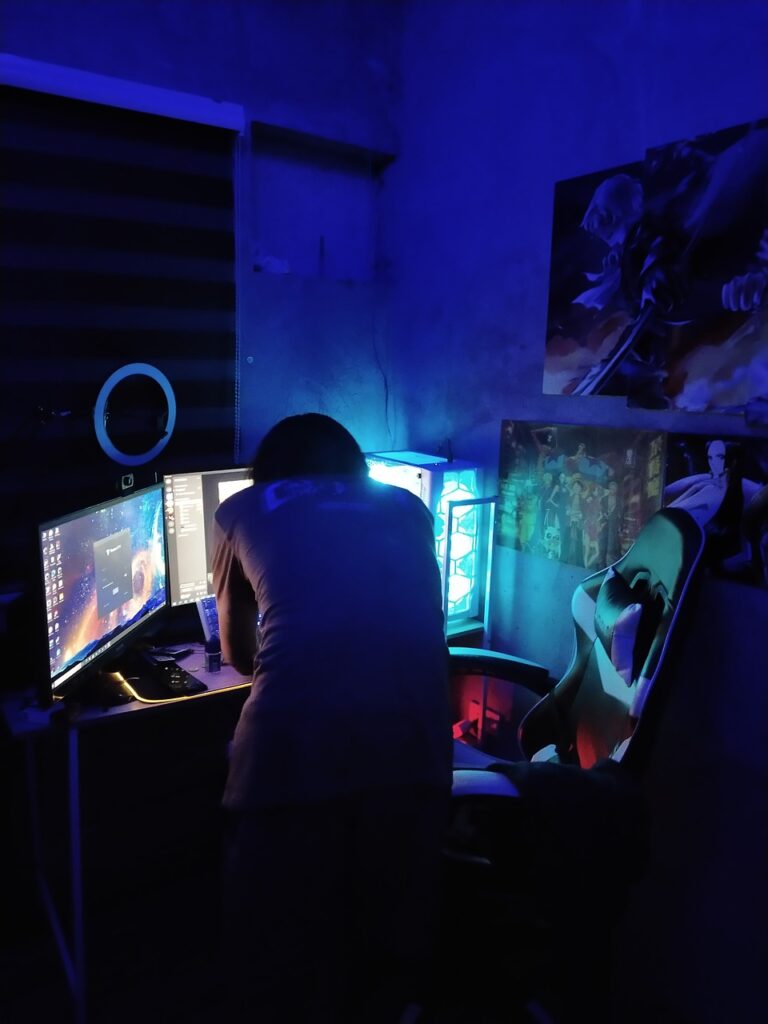
If you have additional devices like a sound system, external storage, or VR equipment, you can connect those now. Follow the manufacturer’s instructions for each additional device.
Initial Software Setup
With all physical connections established, you’re ready to get things running. This next phase involves configuring your console’s software.
Power On the Console
Press the power button on your console to boot it up. The location of the power button varies by console but is usually prominently displayed.
Initial Configuration
When you first power on your console, you’ll likely be guided through an initial setup wizard. This setup wizard usually covers:
- Language Selection: Choose your preferred language.
- Network Connection: Choose between wired or wireless internet connections. Follow the on-screen instructions to connect to your Wi-Fi network or plugin an Ethernet cable.
- System Updates: It’s common for new consoles to need updates out of the box. Allow the console to download and install any necessary updates.
- User Account Setup: Sign in with your existing gaming account or create a new one. This account will save your preferences, game progress, and more.
Parental Controls
If you’re setting up the console for a child, you’ll want to configure parental controls. These settings allow you to monitor and restrict gaming content and screen time. Most consoles will guide you through these settings during initial setup.
Updating and Installing Games
How exciting — your console is now set up! But before you dive into gaming, you may need to update or install games.
Updating Games
Many games will require updates, especially if they were pre-installed or come on physical media (discs). Connecting your console to the internet will enable you to download patches and updates for your games.
- Insert Game Disc (if applicable): Open the disc drive and insert the game disc.
- Follow On-Screen Prompts: If an update is available, a prompt will appear. Follow the instructions to download and install the update.
Installing Digital Games
If you purchased digital games, you’ll need to download and install them. Here’s what you need to do:
- Go to the Digital Store: Navigate to the console’s digital store (PlayStation Store, Xbox Marketplace, etc.).
- Find Your Game: Use the search function to find the game you purchased.
- Download and Install: Select the game and follow the prompts to download and install it.
Connecting and Configuring Controllers
Controllers are your primary input devices, and you’ll want them to be properly configured for the best experience.
Charging or Inserting Batteries
Most modern controllers either have rechargeable batteries or need AA batteries. For rechargeable controllers:
- Charge via USB: Connect the controller to the console using the supplied USB cable.
- Wait Until Fully Charged: Some controllers may take a few hours to fully charge. An indicator light will often show charging status.
For controllers using AA batteries, insert the batteries according to the specified orientation shown inside the controller’s battery compartment.
Pairing Controllers
Wireless controllers usually need to be paired with your console. Follow these general steps:
- Turn On Controller: Press and hold the power button until it turns on.
- Pair With Console: Use the sync button on the console (usually located near the USB ports) and the sync button on the controller. The exact process varies by console, so refer to your manual for specific instructions.
Optimizing Settings
To ensure the best gaming experience, you’ll want to fine-tune some settings. This includes video, audio, and network configurations.
Video Settings
Adjust your video settings for optimal picture quality. Most consoles will automatically detect your TV’s capabilities, but you can manually adjust these settings:
- Resolution: Select the highest resolution your TV supports (4K, 1080p, etc.).
- HDR: If your TV supports High Dynamic Range, enable this feature for better color and contrast.
Audio Settings
Similarly, you’ll want to optimize your audio settings. This could involve:
- Output Device: Choose whether the audio should come from the TV, an external sound system, or headphones.
- Surround Sound: If you have a surround sound setup, ensure this is configured in the audio settings.
Network Settings
A stable internet connection is crucial for online gaming and updates. Here’s how to optimize your network settings:
- Wired vs. Wireless: Whenever possible, use a wired Ethernet connection for stability.
- Test Connection: Most consoles have a built-in feature to test the network connection. Use this to ensure your internet speed is adequate.
Backing Up Your Data
It’s important to back up your game saves and settings to avoid losing progress. Most consoles offer a cloud save option:
- Enable Cloud Saves: In your console’s settings menu, look for the cloud save feature and enable it.
- Manual Backups: Periodically back up your data to an external hard drive or USB stick.
Troubleshooting Common Issues
Even with the best guidelines, things can sometimes go wrong. Here are some common issues and solutions:
Console Not Turning On
- Check Power Connection: Ensure the power cable is securely plugged into both the console and the outlet.
- Reset Power Supply: Unplug the power supply, wait 10 seconds, and plug it back in.
No Display on TV
- Check HDMI Connection: Double-check that the HDMI cable is properly connected to both the console and the TV.
- Switch HDMI Ports: Sometimes switching to a different HDMI port on the TV can resolve the issue.
Controller Not Syncing
- Resync Controller: Turn off the console and try resyncing the controller.
- Check Batteries: Ensure the controller’s batteries are charged or properly inserted.
Tips for a Better Gaming Experience
Now that you’re set up and ready to play, here are a few extra tips to enhance your gaming experience:
Join Online Communities
Many games have online communities where you can share tips, tricks, and find people to play with. Consider joining forums or social media groups related to your favorite games.
Take Breaks
Gaming can be immersive, but it’s important to take regular breaks to avoid eye strain and fatigue. Try the 20-20-20 rule: Every 20 minutes, look at something 20 feet away for at least 20 seconds.
Explore Settings
Don’t hesitate to explore the settings and features of your console. From customizing your controller layout to adjusting display settings, knowing your options can significantly improve your gaming experience.
Setting up a gaming console doesn’t have to be a chore. With the right preparations and a clear, step-by-step approach, you can be dive into your favorite games sooner than you think. So go ahead, power up that console and enjoy your gaming adventure!

