How Do You Upgrade The RAM On A Gaming PC?
How Do You Upgrade The RAM On A Gaming PC?” is your go-to guide for ensuring optimal performance in your gaming setup. You’ll discover the step-by-step process to enhance your system’s speed and efficiency by upgrading its RAM. From identifying your current RAM specifications to safely installing new modules, this article breaks down each stage in a friendly and easy-to-understand manner. By the end, you’ll feel confident and ready to tackle this upgrade on your own, knowing you’ve made a significant improvement to your PC’s gaming prowess. Have you been wondering how to upgrade the RAM on your gaming PC?
Fear not, upgrading your computer’s RAM (Random Access Memory) can be a straightforward process that significantly boosts your system’s performance, especially for high-demand gaming sessions and multitasking. In this friendly guide, you’ll learn step-by-step how to handle this upgrade, ensuring your E-sports experience stays top-notch.
What Is RAM and Why Is It Important?
Before we dive into the nitty-gritty of upgrading your RAM, it’s essential to understand what RAM is and why it plays such a crucial role in a gaming setup.
What Does RAM Do?
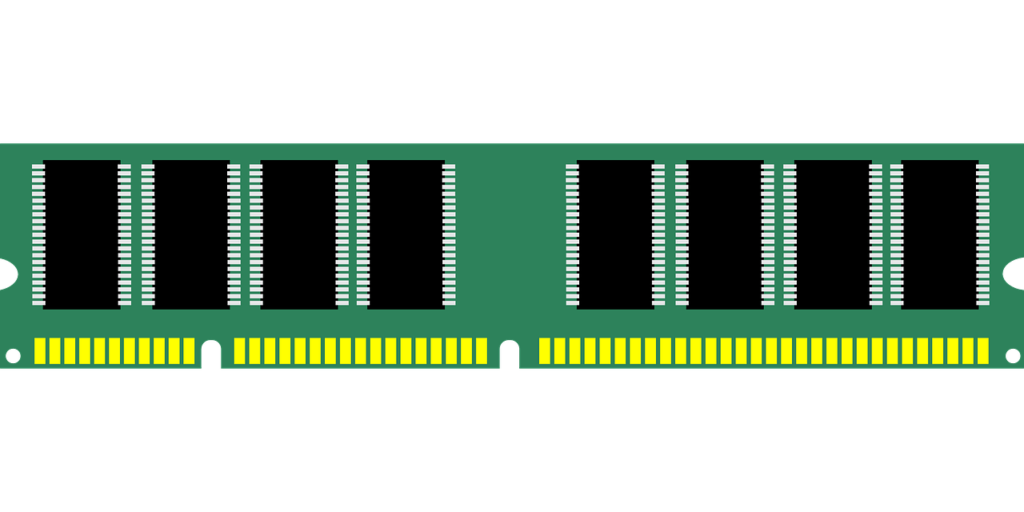
RAM stands for Random Access Memory, and its primary function is to store temporary data that your computer needs quick access to for various tasks, including gaming. Think of it as a workspace: the more space you have, the more tasks you can juggle simultaneously without lag.
Why Is RAM Crucial for Gaming?
For gamers, more RAM means your computer can handle more complex games, offer smoother frame rates, and facilitate faster load times. Games often use an extensive amount of RAM to store textures, maps, and game states, leading to a more immersive and seamless experience.
Determine If You Need a RAM Upgrade
So how do you know if you really need more RAM? Here are some tell-tale signs and steps to determine your current system needs.
Signs You Need More RAM
- Slow Performance During Gaming: Is your gameplay choppy even though your graphics card and processor are high-end?
- High RAM Usage: Check if your existing RAM usage hits the maximum capacity frequently.
- Multitasking Issues: Does your PC slow down when you have multiple tabs and applications open?
- Noticeable Lag or Stuttering: Persistent lag can often be attributed to insufficient RAM.
Checking Current RAM Usage
- For Windows: Open Task Manager (Ctrl + Shift + Esc), navigate to the Performance tab, and check under Memory.
- For MacOS: Open Activity Monitor and click the Memory tab to see your current usage.
Take note of the numbers you see and compare them with your typical usage patterns while gaming or multitasking. If your RAM usage is consistently near maximum, it’s time for an upgrade.

Plan Your RAM Upgrade
Before purchasing new RAM sticks, you need to plan the upgrade by checking your system’s specifications and limitations.
Reviewing System Specifications
Your PC’s motherboard and operating system will have limitations on how much RAM it can support. Here’s how to check them:
- Motherboard Manual: Check your motherboard’s manual or manufacturer’s website for the maximum RAM capacity and supported RAM types.
- CPU Compatibility: Sometimes, the CPU also limits the type and amount of RAM you can use.
Types of RAM
Here’s a quick table to help you understand the types of RAM you might encounter:
| Type | Description | Popularity |
|---|---|---|
| DDR3 | Older, slower, but still available | Low |
| DDR4 | Current standard for most modern PCs | High |
| DDR5 | Newest, faster, and more efficient | Increasing |
Memory Speed and Timings
Memory speed, measured in MHz, and timings, usually represented as numbers like 16-18-18-36, impact your system’s performance. Generally, higher is better for speed, and lower is better for timings—but compatibility with your motherboard remains crucial.
Choosing the Right RAM
Once you’ve understood your requirements and system’s capabilities, it’s time to choose the right RAM.
Capacity and Number of Sticks
Most gaming PCs today perform best with at least 16GB of RAM, though 32GB is becoming increasingly popular for future-proofing and heavy multitasking. RAM sticks come in various capacities (e.g., 8GB, 16GB). Ensure you’re buying compatible sets—dual-channel (2 sticks) or quad-channel (4 sticks)—for optimal performance.
Recommended Brands
Some well-known and reliable RAM brands include:
- Corsair
- G.Skill
- Kingston
- Crucial
- HyperX
Research reviews and consider your budget before purchasing.
Installation Process
Now, let’s get to the fun part: installing your new RAM. Make sure you have a clean workspace, the right tools, and ample time.
Prepare Your Workspace
- Turn Off and Unplug: Make sure your PC is turned off and unplug it from the power source.
- Ground Yourself: Use an anti-static wrist strap or touch an unpainted metal part of your case to discharge static electricity.
- Open the Case: Remove the side panel of your PC case to access the motherboard and RAM slots.
Installing New RAM
- Locate the RAM Slots: Find the RAM slots on your motherboard. They might be in pairs and labeled.
- Remove Old RAM (if necessary): Push the retaining clips on the older RAM sticks (if there are any) to release them.
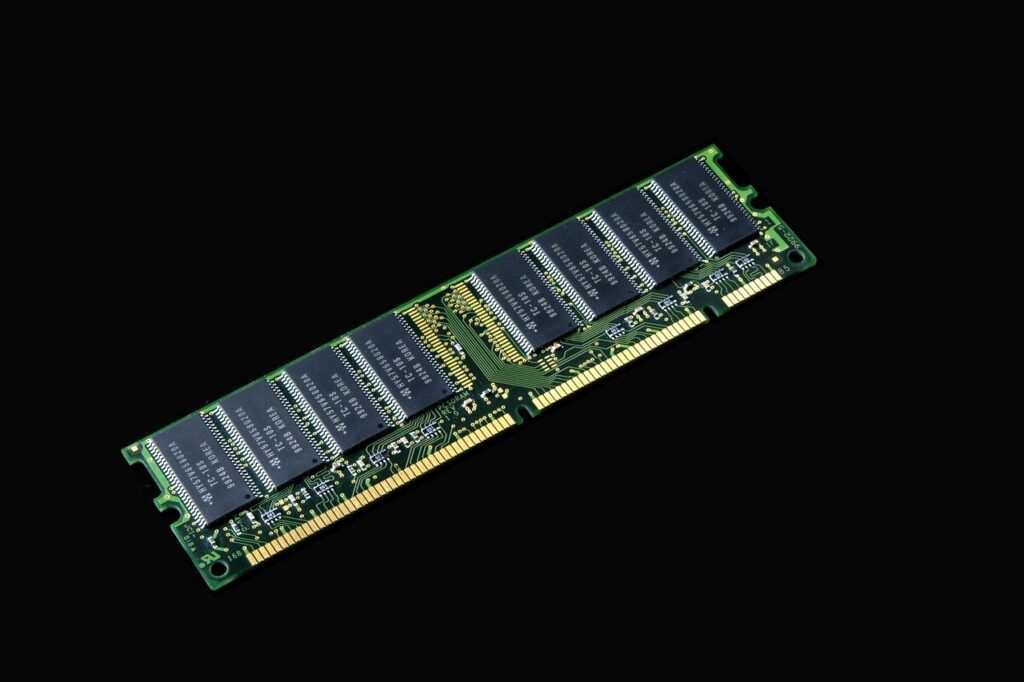
- Insert New RAM: Align the notch on your new RAM stick with the slot, press firmly until the retaining clips snap into place.
Double-Check Installation
Before closing the case, ensure the new RAM sticks are seated properly. They should be snug and have retaining clips latched securely.
Power On Your PC
Close your case, reconnect all peripherals, plug in your PC, and power it on. If everything is installed correctly, your PC should boot up without any issues.
Post-Installation Checks
So, you’ve installed your RAM, but how can you verify it’s working correctly?
BIOS/UEFI Check
When you power on your PC, enter the BIOS/UEFI settings (usually by pressing a key like DEL, F2, or ESC during boot). Check the memory section to ensure your new RAM is detected.
Operating System Verification
Once your operating system boots up, you can verify the newly installed RAM:
- Windows: Open Task Manager (Ctrl + Shift + Esc) and navigate to the Performance tab under Memory.
- MacOS: Open Activity Monitor and click on the Memory tab.
Running Diagnostic Tests
Run memory diagnostic tools to ensure the new RAM is functioning properly. On Windows, you can use the built-in Windows Memory Diagnostic tool. For advanced diagnostics, software like MemTest86 can be very thorough.
Troubleshooting Common Issues
What if things don’t go as planned? Sometimes you might run into hiccups. Here’s how to troubleshoot some common problems.
Computer Doesn’t Boot
- Re-seat the RAM: Ensure the RAM is properly installed in the slots.
- Check Compatibility: Verify if the RAM is compatible with your motherboard.
- Update BIOS/UEFI: Sometimes, the BIOS needs an update to support new memory.
System Instability
- Run Diagnostics: Use memory diagnostic tools to check for faulty RAM.
- Adjust Timings/Voltage: Check your motherboard’s BIOS/UEFI settings and adjust RAM timings and voltage if needed.
Maximizing RAM Performance
Congratulations! Your RAM upgrade is successful, but how do you ensure you’re getting the best performance?
Enabling XMP (Extreme Memory Profile)
Most modern motherboards and RAM modules support XMP, which automatically adjusts memory settings to optimal values.
- Enter BIOS/UEFI: Restart your computer and enter the BIOS/UEFI.
- Enable XMP: Look for the XMP option and enable it. Save your settings and exit.
System Optimization
To truly maximize your new RAM’s potential, consider these additional optimization tips:
- Keep Drivers Updated: Ensure your motherboard and graphics card drivers are up-to-date.
- Manage Startup Programs: Disable unnecessary startup programs to free up RAM.
- Monitor RAM Usage: Use performance monitoring tools to keep an eye on your memory usage and system performance.
Future-Proofing Your Setup
With technology advancing rapidly, how can you ensure your current upgrade will serve you well into the future?
Buying Extra Capacity
If your motherboard supports it, consider opting for higher capacity RAM kits (e.g., 32GB or 64GB) to future-proof against more demanding games and applications.
Staying Informed on Trends
Keep an eye on PC hardware trends and developments. Newer RAM types and technologies, like DDR5, may become the standard sooner than you think.
Conclusion
Upgrading the RAM on your gaming PC can significantly improve performance and provide a smoother, more enjoyable gaming experience. By carefully planning your upgrade, choosing the right RAM, and following a meticulous installation process, you can ensure a successful upgrade. Don’t forget post-installation checks and system optimization to make the most of your new hardware. With just a little bit of effort, you’ll have your gaming setup running like a dream!

